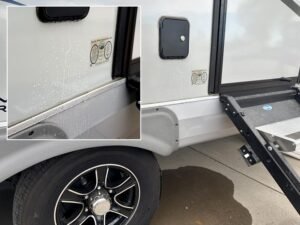
Simple RV Fresh Water Overflow Fix Answers Mystery Problem
Quick and easy fix for RV fresh water overflow problem with step by step instructions and bonus tip!
Working the dream life for 17+ years.
DIY projects and Do It Yourself tips for full-time RVers
Quick and easy fix for RV fresh water overflow problem with step by step instructions and bonus tip!
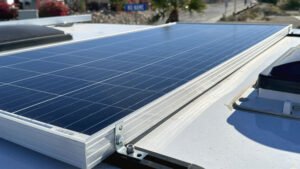
Easy camper solar upgrade that improves performance and reliability, with simple mounting and the one wiring detail you can’t overlook.
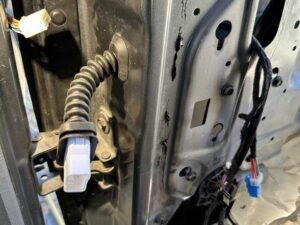
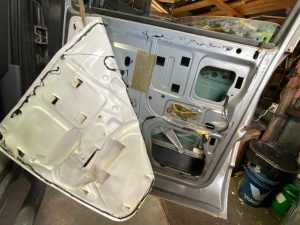
Jim shares Dodge Ram rear door wiring harness repair video with step by step photos and important tips.
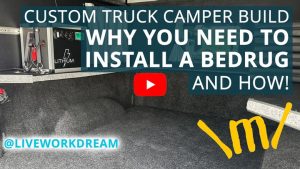
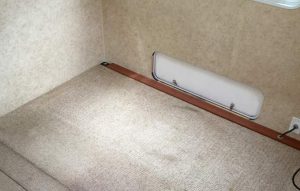
Watch our How to Install a Bedrug video to keep dust and moisture out of a custom truck camper build, with photos and step by step instructions.
Watch our custom truck camper build video tour to see how we made the Project M pop-up truck topper from Four Wheel Campers meet our needs.
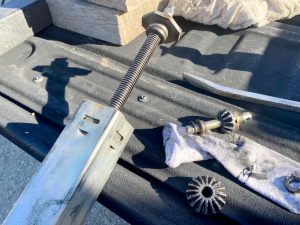
Use this cheap fix to repair landing gears in fifth wheel legs with inexpensive rebuild kit, and discover how it may be easier to replace the entire leg.
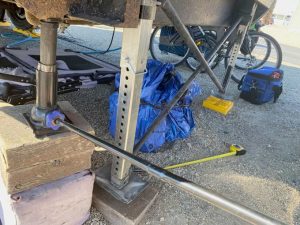
Learn how to fix fifth wheel legs and find right replacement parts with tips, photos, documentation, and user manual downloads.
Fix a Dodge Ram fallen window with step by step instructions, detailed photos, and minimal tools to address what Jim considers a design flaw.
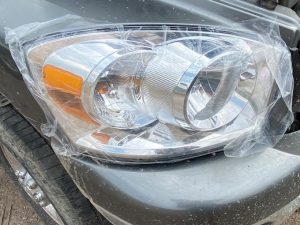
Follow these simple steps and helpful tips to replace dodge ram headlights when they become faded and dim. See better and drive safely at night with new lenses!
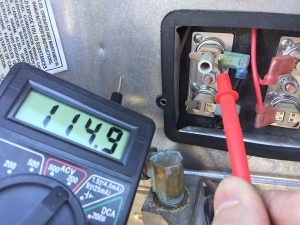
Your RV water heater won’t heat water? See detailed steps for electrical troubleshooting to fix RV water heater, replace heating element, and thermostat switch.
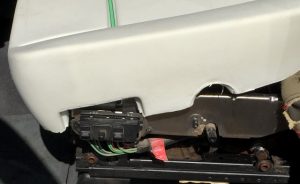
Yes, you can replace the driver’s side seat cushion in your Dodge Ram 2500 without removing the seat. Here are some simple tips and video, and recommendation for the best replacement cushion available.
Jim shares steps for how to remove the ugly old RV jack knife sofa, and hints at the new ergonomic RV workstation he built for himself coming up in part two.
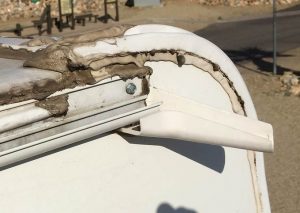
How extreme weather affects RV weatherstripping, and the best way to replace vinyl insert trim to keep RV roof molding from leaking and creating black streaks.

Does your RV plumbing sound like a sick cow? Listen to this to identify the cause and learn how to fix it!
Jim shares helpful tips for how to replace your RV bathtub and why you should do the tub surround at the same time. Complete with detailed steps, photos and video!