At some point every RVer will cuss at a broken pleated window shade in their hands and wonder how to restring the damaged blind to avoid a costly replacement. Some may just head to the nearest dealer and obliviously shell out the big bucks. But most will turn to the internet and discover that RV blinds can be repaired. I did! And its not as difficult as it may seem.
Back in my print shop days, we would say you could have any job Good, Quick, or Cheap: pick any two.
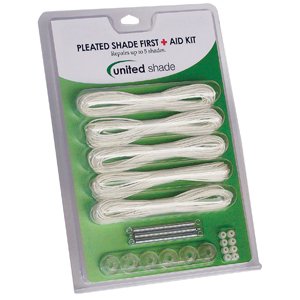
With a pleated RV shade repair kit, you get all three! I found the Pleated Shade First Aid Kit from United Shade on Amazon for about twenty bucks. It had everything we needed to repair our 2-string night shade with a snapped string. Days after repairing that and documenting the job, one of our four string shades broke too. Luckily the repair kit has enough parts for fixing up to five blinds.
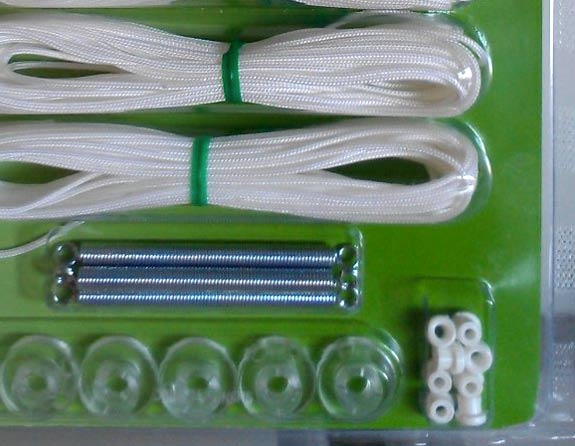
I recommend getting the United Shade Repair Kit because it comes with detailed instructions for fixing Day/Night Shades or a Night Shade only, either with two or four strings. Photos and illustrations guide you through which strings go where. I’ll summarize the steps I took to repair our Night Shade, with a few handy tips below.
How To Restring RV Window Night Shade
 Before you begin, determine whether you have a Night Shade or Day/Night Shade. The latter use two different types of fabric. Clear off a large flat area to work on. This may mean vacuuming dog hair of the day bed. Next, make a refreshing tasty beverage and read through the instructions for repairing your blinds.
Tools Required to Restring RV Blinds:
[unordered_list style=”tick”]
- Pleated Shade Repair Kit
- Scissors or Sharp Knife
- Scotch Tape (Optional)
- Flathead Screwdriver
- Phillips Screwdriver
- Absolut Screwdriver
[/unordered_list]
1. Remove Broken RV Shade
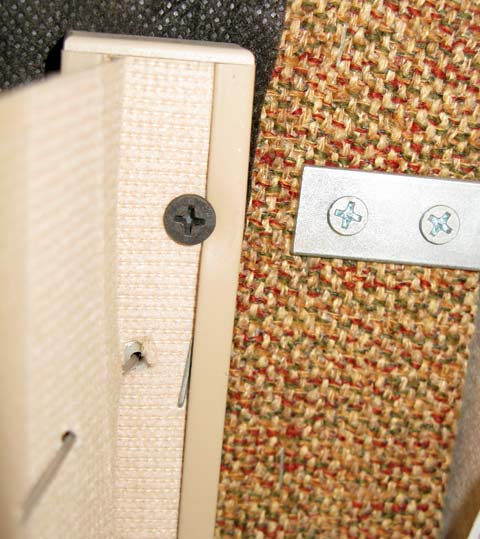
Unscrew both tension cord retainers at the bottom of the blind from the wall. Then remove the screws holding the shade to the valance or bracket at top. Relieve the tension developed from craning your neck and reaching for screws by taking a moment to top off your freshie.
2. Remove Endcaps from Top and Bottom Rail
Lay shade on clean flat surface and use a flat screwdriver to pry loose all the endcaps from both both the top and bottom rails. Note how they differ and set them aside.

3. Remove Cords from Blind
Pull both cords all the way out of the blind through holes in the top rail. NOTE: It helps to cut off the cord retainers!
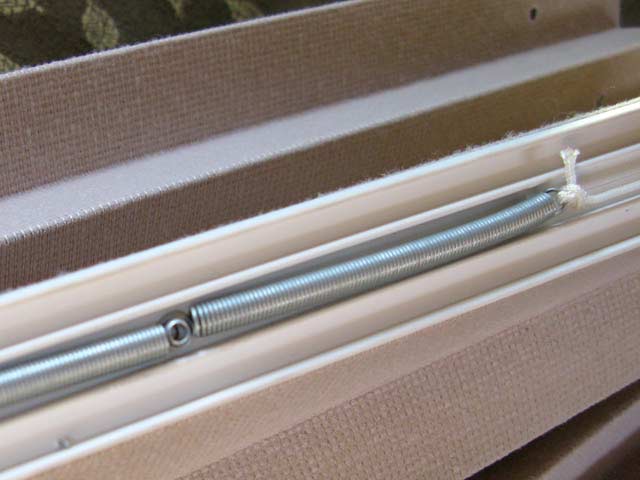
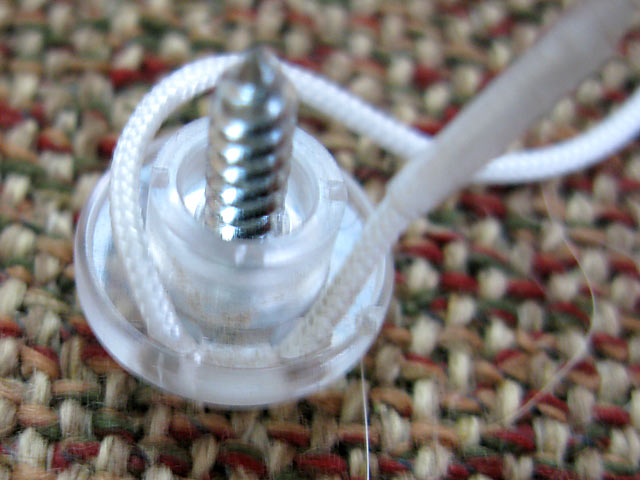
4. Attach New Cord to Spring(s)
Our blinds have two springs affixed to the center of the top rail, others may not. Depending on the type of shade you have, attach two new cords to a new spring, or to the existing springs. I chose to use the existing springs in our shade, and save the new ones for other blinds that are bound to break some day. NOTE: I was able to cut one of the cords from the repair kit in half to repair our short shade, again, reserving more parts for future repairs.
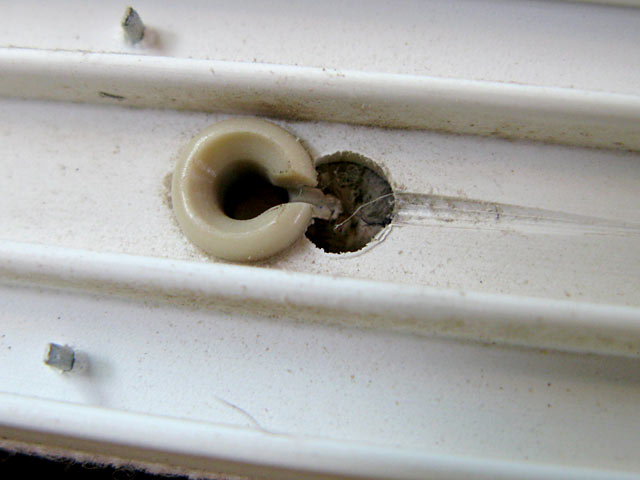
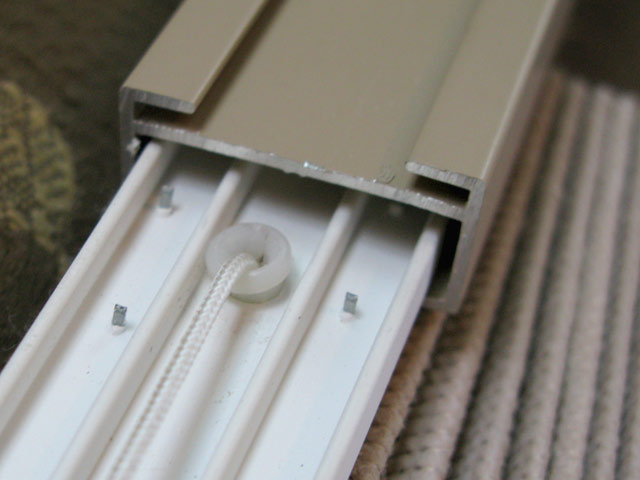
5. Replace Cord Bushings
Small plastic bushings in the metal rails protect the cords from wearing town and snapping, which they will eventually do anyway by wearing down said bushings. Replace any bushings that look worn. Or replace them all, but be sure to keep some since they are small and will roll out of site if you turn your back on them.
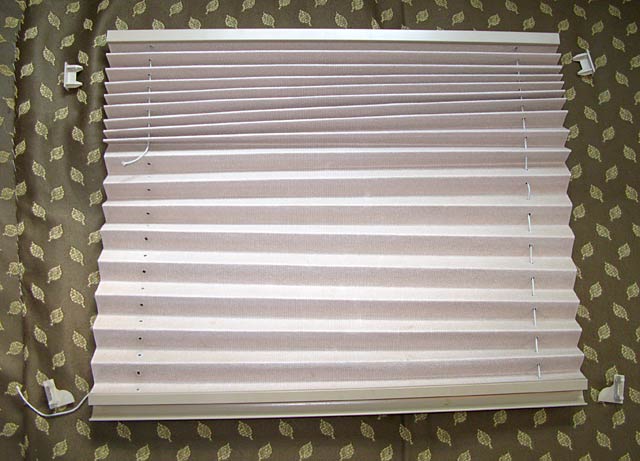
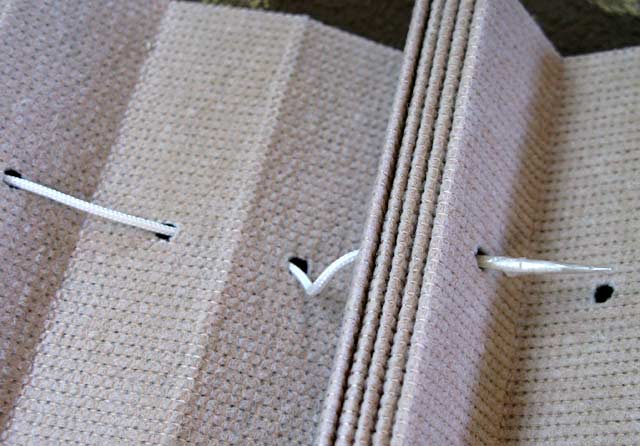
6. Re-string the Pleated Shade
Thread the cords into the top bushings, through each pleat of fabric, and out the bottom bushing. The cord on the right, will run down the right side of the shade. Guess where the one on the left goes. NOTE: I found it helpful to wrap the ends of the cords with a small piece of Scotchâ„¢ tape rolled to a point. You can use any brand of adhesive tape, or generic if you are cheap like me.
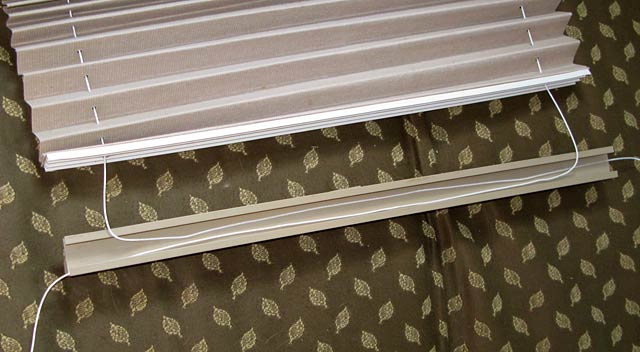
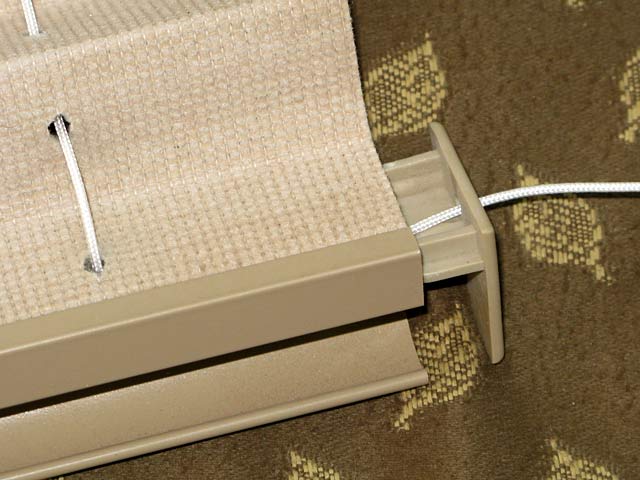
7. Position Cords and Replace Rails
Slide top rail onto shade. Figure out which endcaps fit and replace them. At the bottom of the blind, the cord from the right side will exit the rail through the left endcap, and vice versa. Lay the cords down so they cross in the middle and slide the bottom rail over them. Reinstall endcaps, threading cords through exit holes. NOTE: Hold cords and guide rails on slowly, ensuring it does not pinch or bind any string.
8. Reinstall Retainer Clips
Thread the cord ends onto the new retainers from the kit after discovering you cannot find the the old ones you intended to keep because were in perfectly good shape. Tie knots in cords below the position of retainers at length of desired drop from the valance for the closed shade. You did measure right? NOTE: The holes in your wall are a good indicator of the cord length. But do not use the same holes when screwing in the retainers, and don’t do that quite yet!
9. Reinstall Shade in RV Window
Attach top rail of shade to bracket, if applicable, or screw it back in to the valance after locating the screws you lost behind the couch. NOTE: I found it handy to place the bottom rail atop the valance while screwing in the top rail to keep the shade out of my way.
 
10. Attach Cord Retainers to Wall
Screw the new retainers into the wall just above the previous holes, or at least an inch below, to prevent loosening of the retainer and further damage to the wall. If the blind does not stay up, increase tension on the cord by re-tying the knot in a shorter position, or screwing yet another hole in your wall further down.
Any questions?
[box type=”note” style=”rounded” border=”full”]Subscribe to be notified of new blog posts and get a free gift![/box]
Thanks for the information. I enjoyed your touch of humor since it is probably true. Now I just need to order the kit.
I have day/night or night/day shade? I dont know which is which. I couldnt find nylon string at home depot so I used string small enough to use. Is this the problem why the night shade will not stay up. What can I do. I just ordered the string from united shade. Thanks
What can you do? Order this repair kit designed specifically to work with RV blinds. We’ve never heard any such complaints from anyone who has used it over the years.
when I try to remove the top end cap there is a spring attached to it
Neat! Not ours…sounds like a good troubleshooting challenge.
I found this helpful – now if I can just find a replacement for the broken end cap on the bottom rail of the pleated shade in my 2011 Jayco travel trailer, I’ll be able to repair it with confidence.
You mean like these pleated shade end caps?
Thanks! Our shade over the dinette broke last week. Now we can fix it 🙂